How to Collect VSP G/F350 G/F370 G/F700 G/F900 Dump Files Using the SVP Dump Tool
To take full advantage of this article, please make sure you have logged into https://knowledge.hitachivantara.com by clicking Login:

Objective
- Collecting dump files using the dump tool for VSP G/F350 G/F370 G/F700 G/F900 models (HM850) with an SVP
Environment
- VSP G/F350 G/F370 G/F700 G/F900
- VSP G350, G370, G700, G900
- VSP F350, F370, F700, F900
- Service Processor (SVP)
Procedure
Background
Use the dump tool to download dump files onto a Hitachi Device Manager - Hitachi Storage Navigator computer. Downloaded dump files can be used to:
- Troubleshoot the system. Use the dump tool to download dump files from the service processor (SVP) and give it to Hitachi support personnel.
- Check system configuration. First, click File > Refresh All to update the configuration information, and then use the dump tool to download the dump files.
There are two types of dump files:
- Normal dump - includes all information about the SVP and the minimum information about the storage system. Select this when you have a less serious problem, such as an incorrect display.
- Detail dump (preferred) - includes all information about the SVP and the storage system. Select this when Device Manager - Storage Navigator has a serious problem (for example, Device manager - Storage Navigator does not start) or when you need to determine if the storage system has a problem.
Before you begin
- You must remote desktop into the SVP (click here for credentials - only displays for logged in customers).
- All other users (including the SVP user) must not be using the dump tool.
- Stop all maintenance operations. No other user should be managing the array at the time of the collection.
- Dump tools from other storage systems on the same SVP/MPC must not be used during the process.
Collection
- Log in to SVP (or MPC).
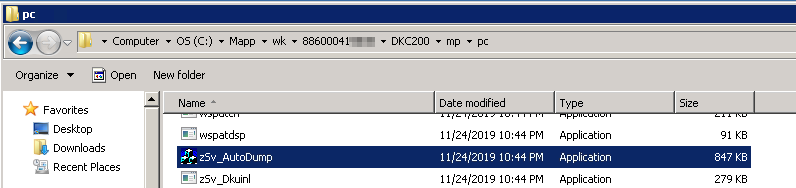
- Using Microsoft Windows Explorer, go to C:\MAPP\wk\88XXX4XXXXX\DKC200\mp\pc
- Double click zSV_AutoDump.exe
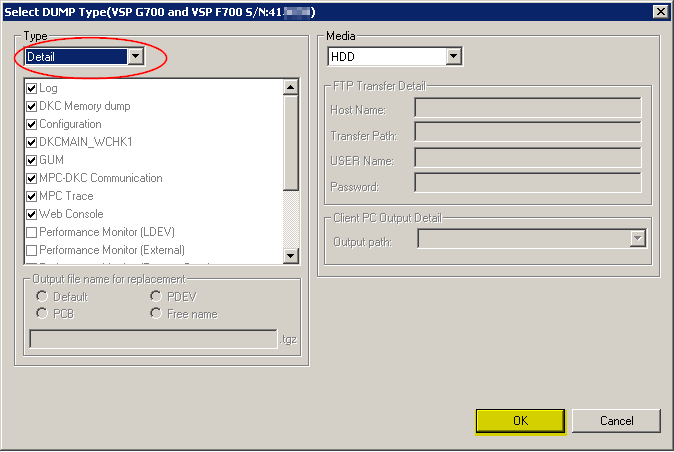
- Click the OK button.

- Hitachi Global Support prefers the Detail Dump.
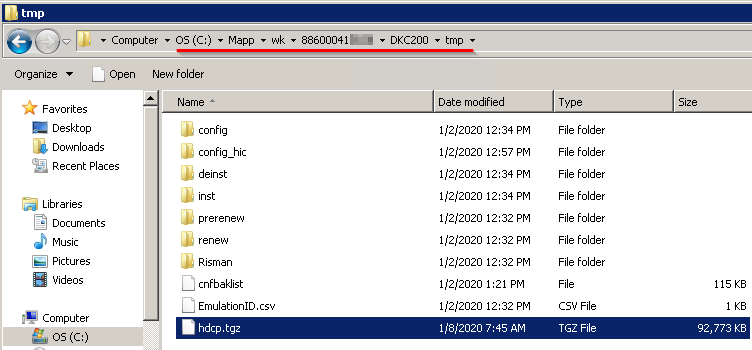
- Location hdcp.tgz output will be in C:\Mapp\wk\88XXXX4XXXXX\DKC200\tmp\
-
Upload hdcp.tgz to TUF and notify Global Support of the upload.